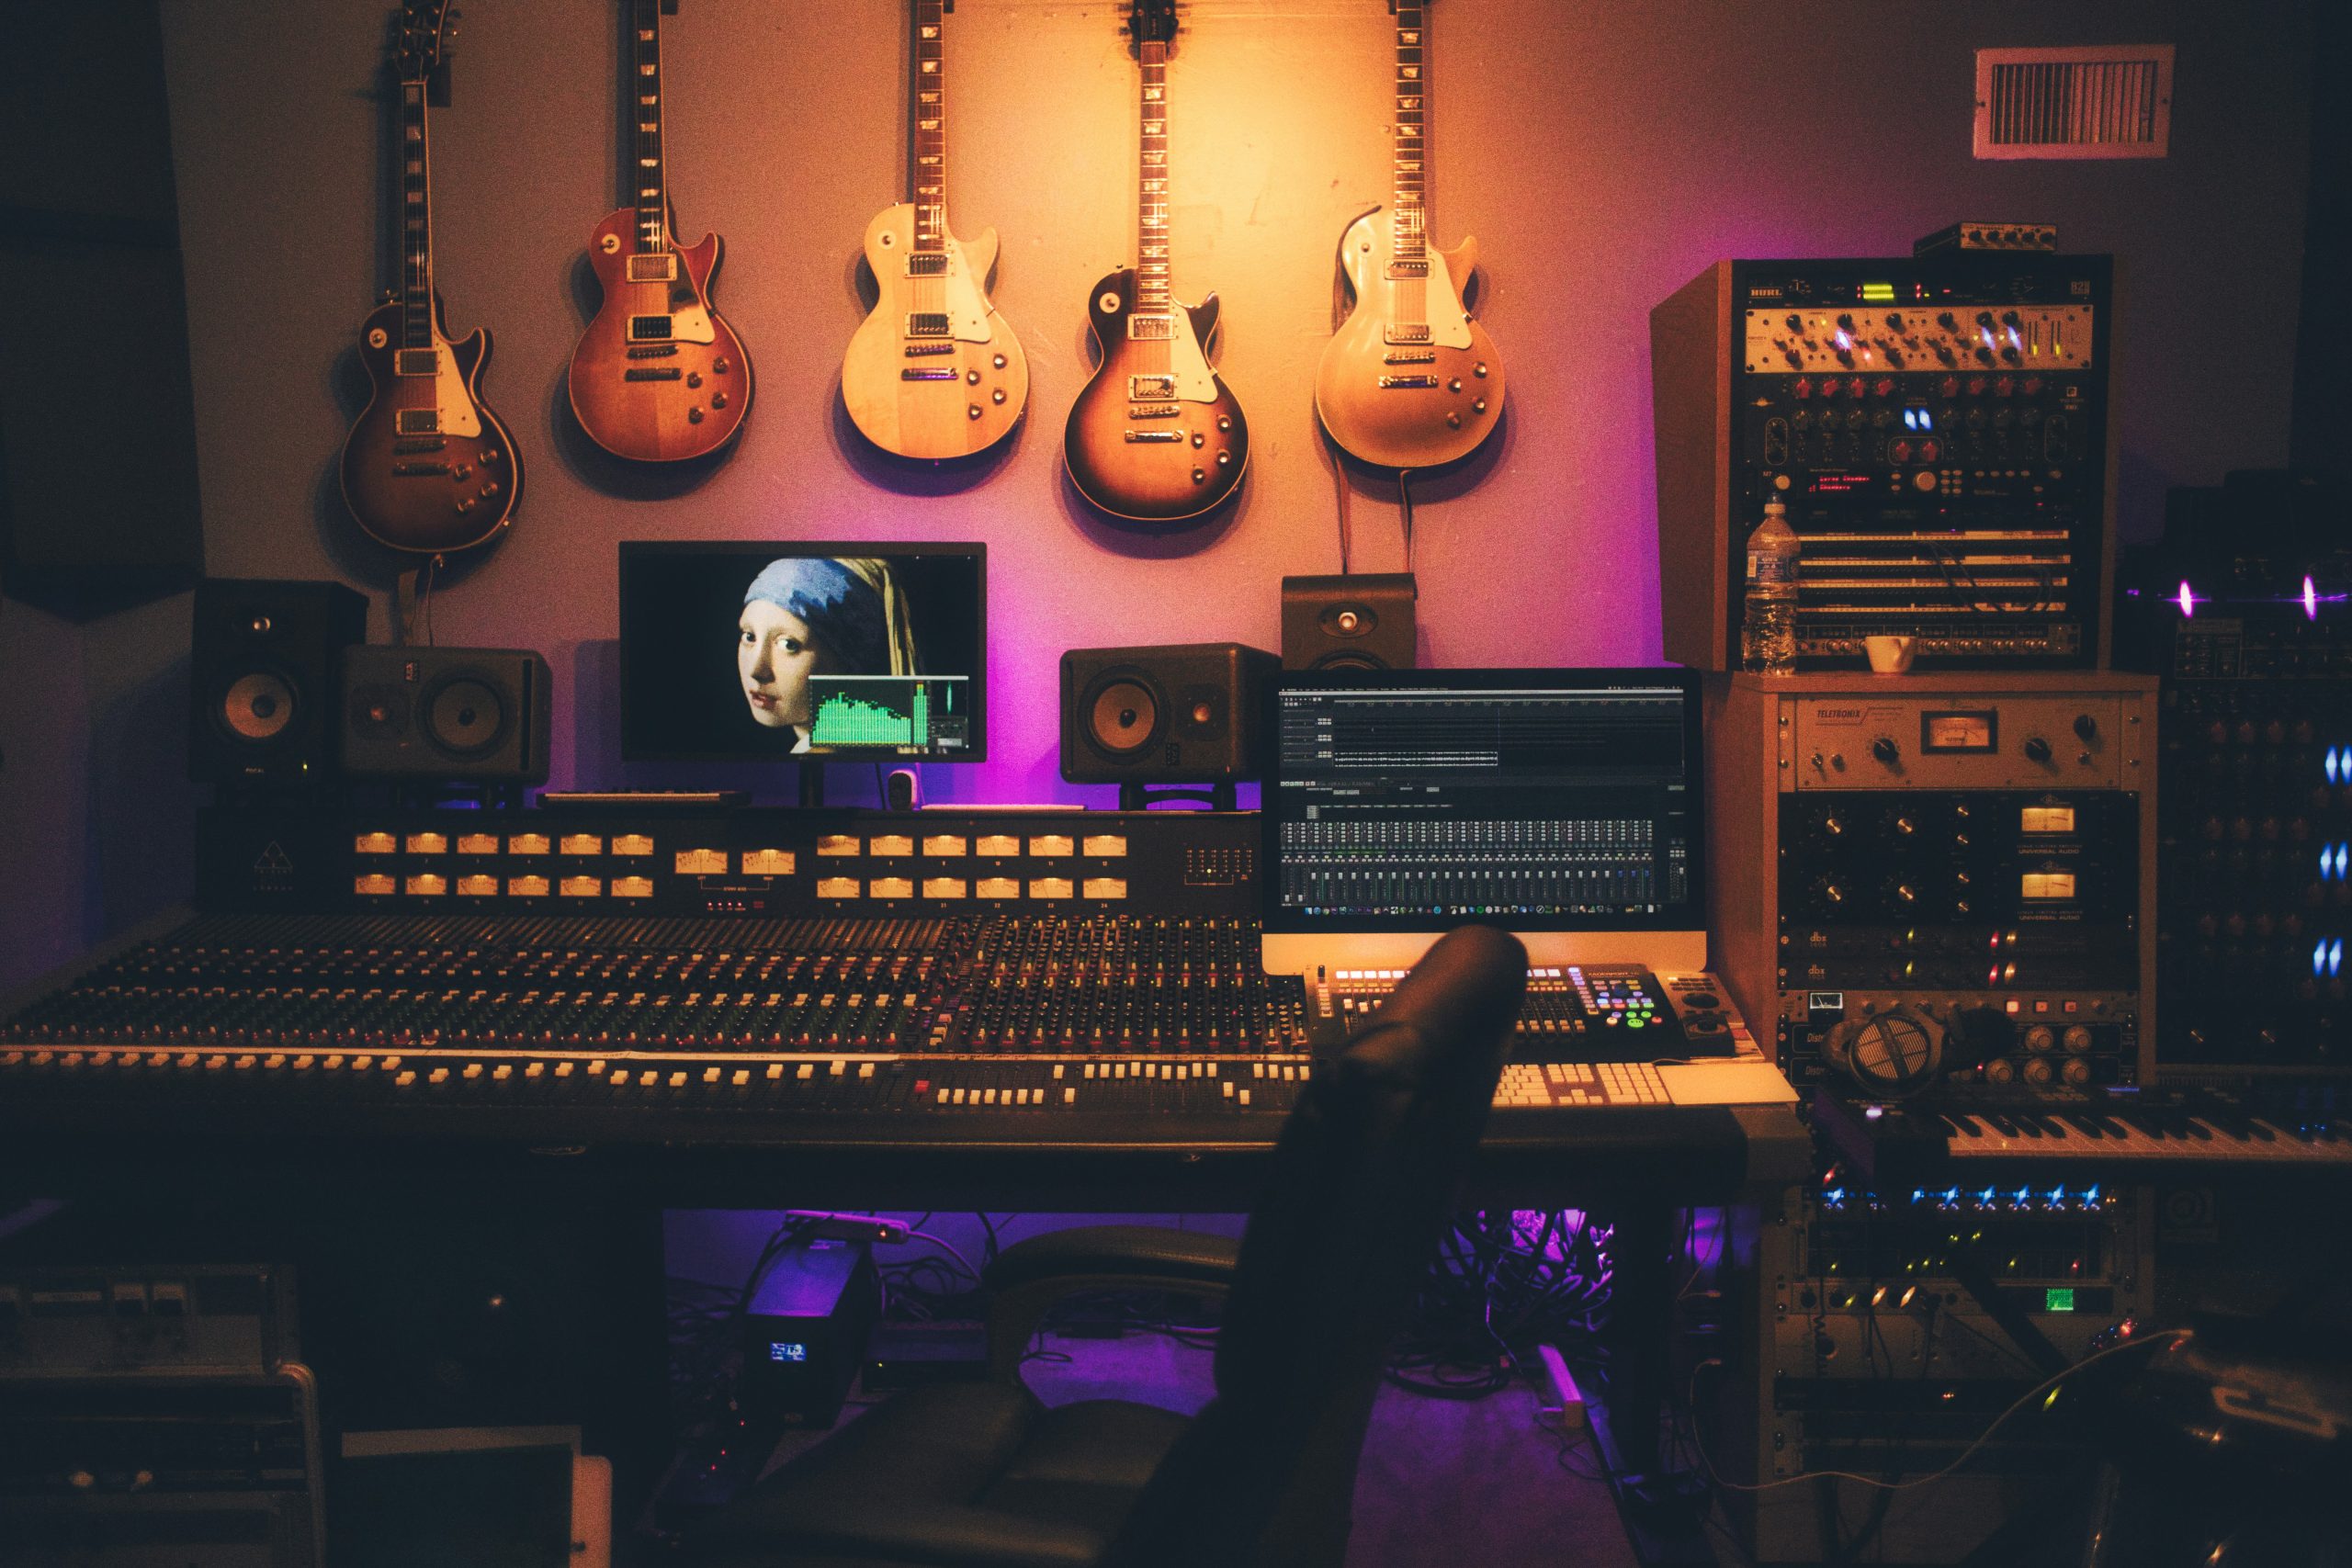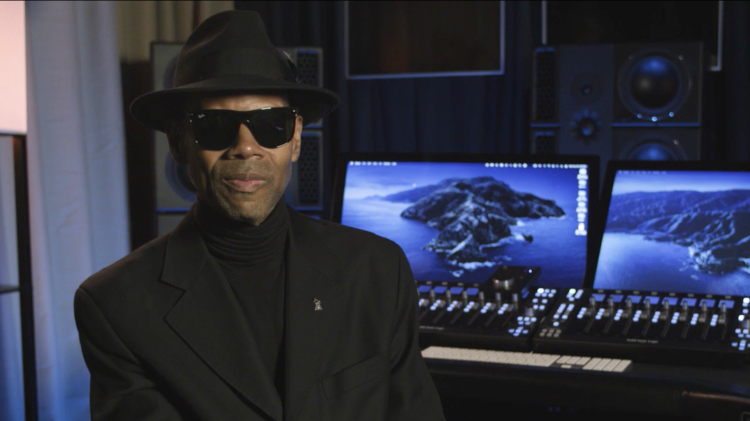
Creating a music studio or dedicated music space in your house is a dream come true for many musicians and producers. Whether you’re a professional or a hobbyist, having a designated area to create and record music can greatly enhance your workflow and creativity. In this article, we will guide you through the process of transforming your bedroom or any other room in your house into a functional and inspiring music production space. We will cover everything from finding the right space, setting up your equipment, optimizing acoustics, and adding personal touches to make it your own.
Discover GRAMMY GO courses exclusively on Coursera
But first, let’s understand the difference between a professional studio and a home studio. Professional studios are typically large, purpose-built facilities with state-of-the-art equipment and acoustically treated rooms. They are designed to cater to a wide range of recording needs, from tracking full bands to mixing and mastering. Famous studios like Abbey Road and Electric Lady have become iconic symbols of the music industry. However, building a professional studio requires a significant investment of time and money, which may not be feasible for everyone.
On the other hand, a home studio is a more accessible and affordable option for musicians and producers. With advancements in technology, it is now possible to achieve professional-quality recordings and productions from the comfort of your own home. Artists like Billie Eilish have proven that you can create Grammy-winning albums in a home studio. So let’s dive into the process of creating your perfect music production space.
Section 1: Finding the Right Space
The first step in creating your music studio is finding the right space within your house. Consider the following factors when choosing a room:
Size and Purpose
The size of the room will depend on your specific needs and the type of music you plan to create. If you’re recording bands or need space for instruments like a drum kit or grand piano, a larger room like a spare garage or basement would be suitable. However, if you’re primarily working with vocals, guitars, and keyboards, a regular-sized spare room or bedroom will suffice.
Acoustics
Pay attention to the acoustics of the room. Avoid rooms with low ceilings, as they can create muddy and unclear recordings due to sound reflections. If you’re stuck with a low ceiling, consider investing in acoustic treatments to minimize the negative impact. Additionally, square rooms should be avoided as they can cause frequency cancellations and uneven sound distribution. Look for rooms with slanted ceilings and asymmetrical walls to ensure better acoustics.
Noise Considerations
Choose a room that is away from noisy areas of your house, such as main roads or high-traffic areas. Consider the proximity of neighbors and the potential for sound complaints. If you plan on making a lot of noise, it may be necessary to soundproof the room or opt for a space that is already isolated from the rest of the house.
Section 2: Setting Up Your Equipment
Once you have found the perfect space for your music studio, it’s time to set up your equipment. Here are the essential components you’ll need:
Computer System
Invest in a high-performance computer with a 64-bit operating system. This will ensure that your computer can handle the demands of recording and producing music without lag or performance issues. Aim for a computer with at least 8GB of RAM and a 4-core processor to handle multiple tracks, plugins, and sample libraries.
Audio Interface
An audio interface acts as the bridge between analog audio signals and your digital recording software. Choose an audio interface based on the number of inputs and outputs you require. If you plan on recording multiple sources simultaneously, opt for an interface with more inputs. Consider your specific needs and budget when selecting an audio interface.
Studio Monitors
Invest in a pair of studio monitors for accurate and detailed sound reproduction. Look for monitors that offer a flat frequency response, meaning that they do not artificially boost or cut frequencies. The size of the monitors will depend on the size of your room and the level of bass response you require. For small to medium-sized rooms, 5 or 6-inch monitors are generally sufficient.
Digital Audio Workstation (DAW)
Choose a digital audio workstation (DAW) software that suits your workflow and preferences. There are several options available, ranging from free versions with limited functionality to professional-grade DAWs with advanced features. Consider your specific needs and budget when selecting a DAW.
Microphones
Invest in at least one versatile microphone for recording vocals and instruments. Dynamic microphones like the Shure SM57 and SM58 are popular choices due to their durability and versatility. Additionally, consider investing in a condenser microphone for capturing more detailed and sensitive recordings. Research different microphones and choose ones that suit your specific recording needs and budget.
Headphones and Headphone Amp
Invest in a pair of high-quality headphones for monitoring and reference purposes. Look for headphones that provide a neutral and accurate sound reproduction. Consider the comfort and fit of the headphones, as well as their ability to isolate sound. Additionally, if you plan on recording multiple musicians simultaneously, consider investing in a headphone amplifier to provide individual mixes for each musician.
MIDI Keyboard
Consider adding a MIDI keyboard to your setup for playing virtual instruments, triggering samples, and controlling your DAW. Choose a keyboard size and features that suit your specific needs and playing style.
Cables, Stands, and Hardware
Don’t forget to stock up on essential cables, such as XLR and instrument cables, to connect your equipment. Invest in sturdy microphone stands, keyboard stands, and any other hardware you may need to support your equipment.
Section 3: Optimizing Acoustics
Acoustic treatment is crucial in creating a professional-sounding music studio. Here are some steps you can take to optimize the acoustics of your space:
Bass Traps
Bass traps are designed to absorb low-frequency sound reflections and prevent bass buildup or nulls. Place bass traps in the corners of your room to minimize low-end problems.
Absorption Panels
Use absorption panels to control mid and high-frequency reflections. These panels can be placed on walls, ceilings, and even doors to minimize reflections and improve clarity in your recordings.
Diffusion Panels
Diffusion panels scatter sound waves in different directions, reducing the intensity of direct reflections and creating a more balanced acoustic environment. Use diffusion panels on walls and ceilings to create a more natural and spacious sound.
Reflection Points
Identify and treat reflection points in your room where sound waves bounce directly back to the listener. Place absorption panels or diffusers in these areas to minimize reflections and improve the accuracy of your monitoring.
Speaker Placement
Position your studio monitors correctly for optimal sound reproduction. Follow the manufacturer’s recommendations regarding speaker placement, which usually includes placing them at ear level and forming an equilateral triangle with your listening position.
Room Measurements
Consider measuring the acoustic characteristics of your room using specialized microphones and software. This will help you identify problem areas and make more informed decisions when applying acoustic treatments.
Section 4: Adding Personal Touches
Now that you have set up your music production space and optimized the acoustics, it’s time to add personal touches to make it your own. Here are some ideas:
Decorate the Space
Add artwork, posters, and other decorations that inspire you and create a visually appealing environment. Personalize the space to reflect your musical tastes and personality.
Lighting
Choose appropriate lighting that creates a comfortable and inspiring atmosphere. Consider using a combination of ambient lighting, task lighting, and accent lighting to create the desired mood.
Comfortable Seating
Invest in a comfortable chair or sofa where you can relax and listen to your music. Comfortable seating is essential for long hours of production and mixing sessions.
Organizational Systems
Set up storage solutions and organizational systems to keep your equipment, cables, and accessories neatly organized. This will help you maintain a clutter-free workspace and improve your workflow.
Inspirational Items
Display items that inspire you creatively, such as musical instruments, awards, or memorabilia. Surrounding yourself with inspiring objects can enhance your creativity and motivation.
Section 5: Famous Music Studios
To provide some inspiration, here are a few examples of famous music studios around the world:
- Abbey Road Studios (London, UK) – Known for its iconic recording history and association with The Beatles, winners of seven GRAMMY awards, who even named an album after the historic studio.
- Electric Lady Studios (New York City, USA) – Founded by Jimi Hendrix and known for its unique design and innovative recording techniques.
- Sun Studio (Memphis, USA) – Considered the birthplace of rock and roll and has hosted legendary artists like Elvis Presley and Johnny Cash.
- Motown Records Studio A (Detroit, USA) – The birthplace of the Motown sound and home to artists like Stevie Wonder and The Supremes.
- Muscle Shoals Sound Studio (Alabama, USA) – Known for its soulful recordings and hosting artists like Aretha Franklin and The Rolling Stones.
These studios serve as a reminder that great music can be created anywhere, from high-end facilities to humble home studios.
Conclusion
Creating your perfect music production space is an exciting journey that involves finding the right space, setting up your equipment, optimizing acoustics, and adding personal touches. Remember that your home studio is a reflection of your creativity and passion for music. With careful planning and smart choices, you can create a professional-quality music production space that inspires you to create your best work. So, go ahead and turn your bedroom or any other room in your house into the studio of your dreams! Happy music-making!
