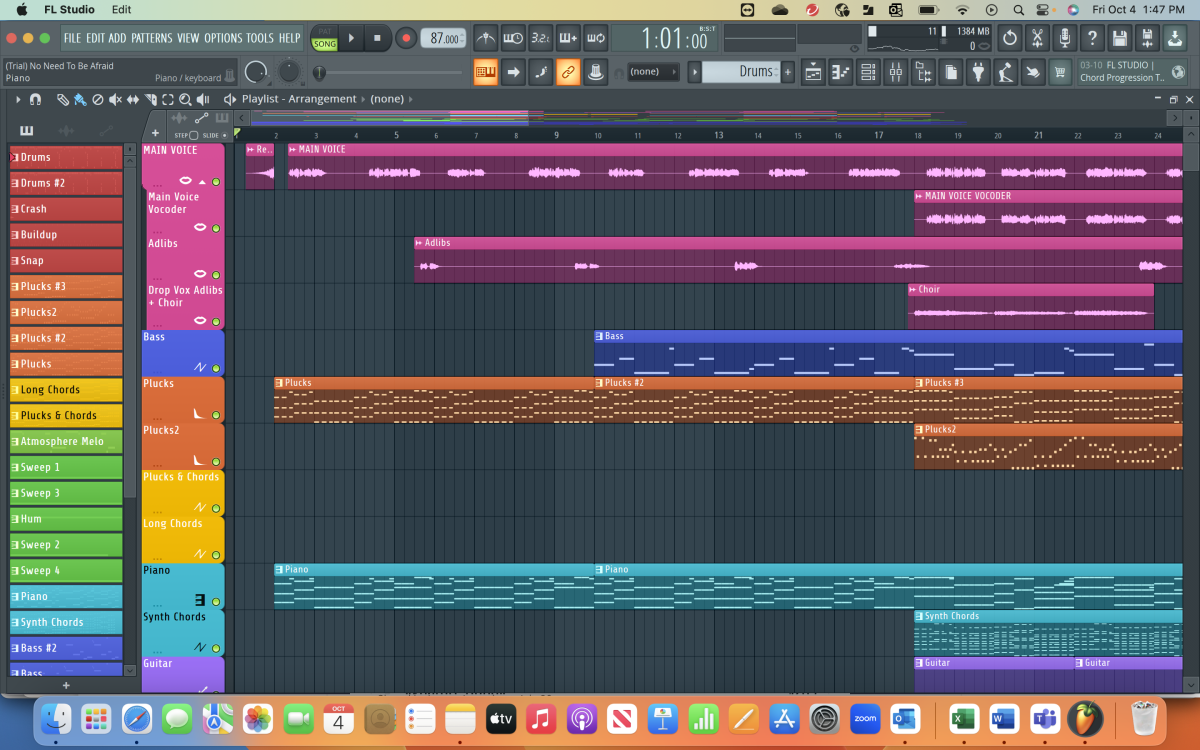
Are you working on a complex project in FL Studio, and need to export just one track? FL Studio is on the most popular music production software on the market. Whether you’re collaborating with other producers, creating stems for a remix, or simply want to isolate a specific element of your composition, rendering out a single track is a crucial skill. This guide will walk you through the process step-by-step.
Discover GRAMMY GO courses exclusively on Coursera
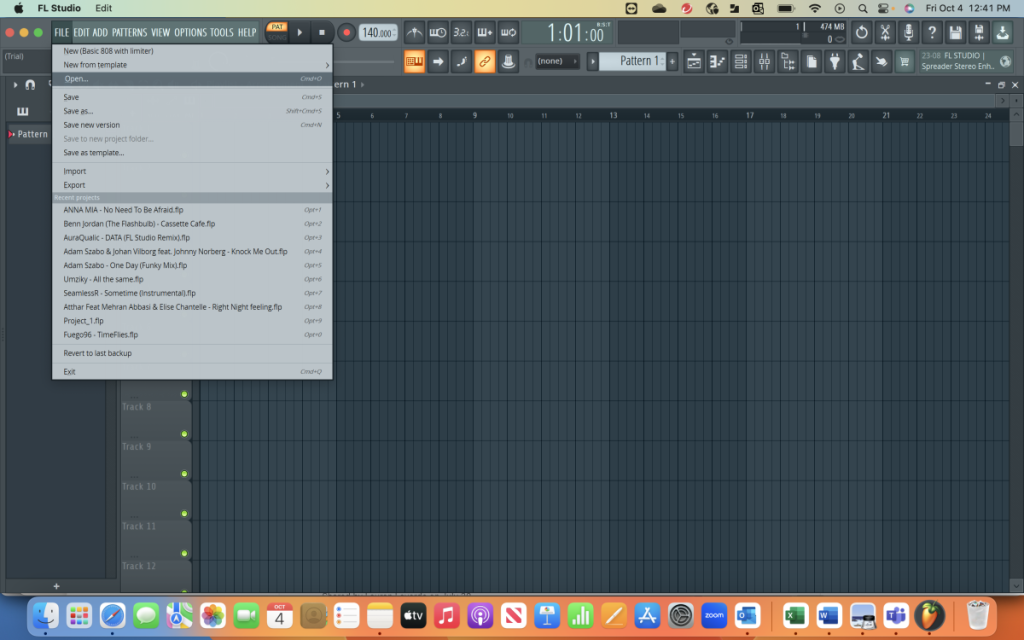
1. Open Your Project File
First things first, launch FL Studio and open the project containing the track you want to render.
- Double-click the FL Studio icon on your desktop
- Go to File > Open (or use the shortcut Ctrl+O)
- Navigate to your project file and click “Open”
2. Select the Specific Track
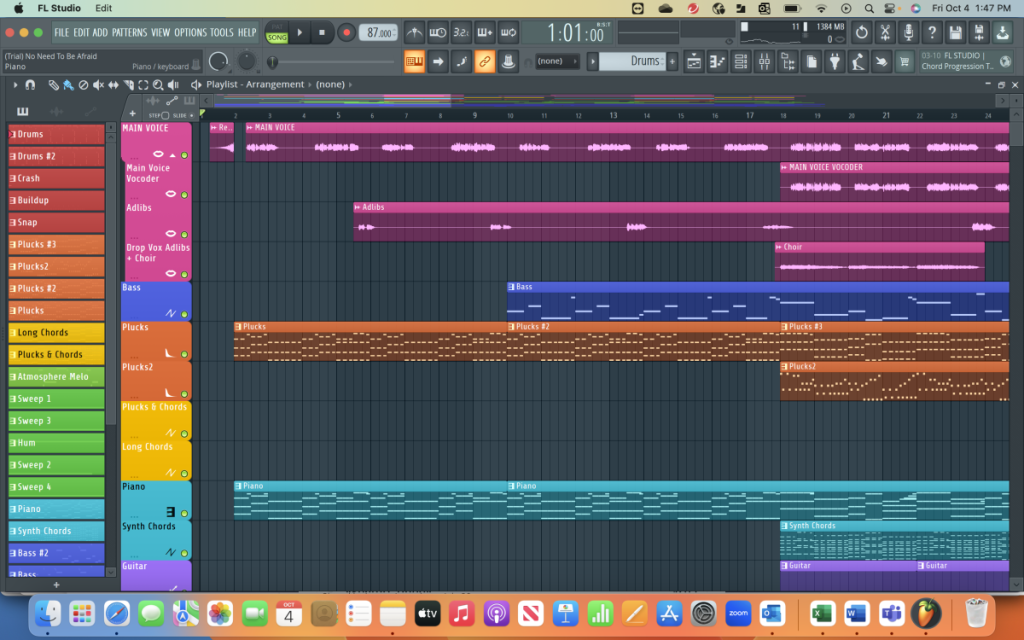
Before rendering, you need to isolate the track you want to export. Here’s how:
- Locate the track in the Channel Rack or Playlist view
- If your track consists of multiple patterns or clips, make sure they’re all selected in the Playlist
- Verify that all necessary effects and automation are included in your selection
3. Solo the Track
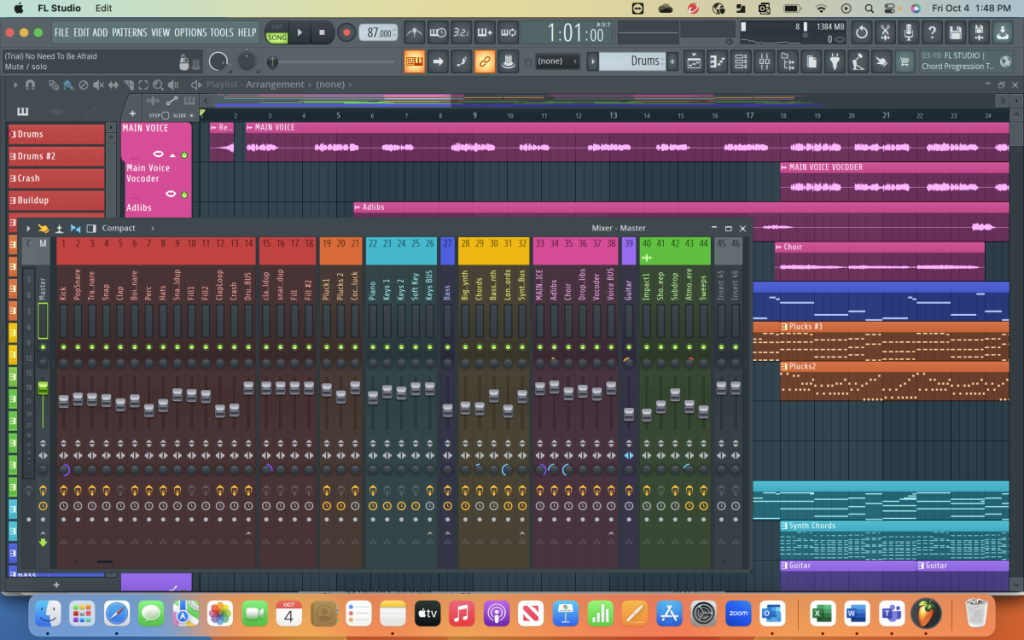
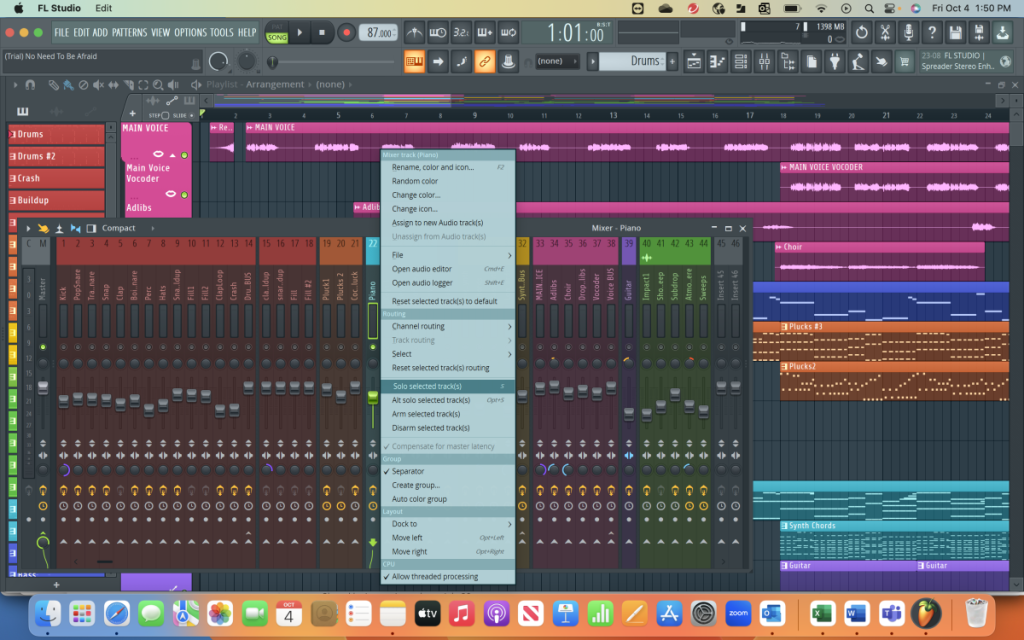
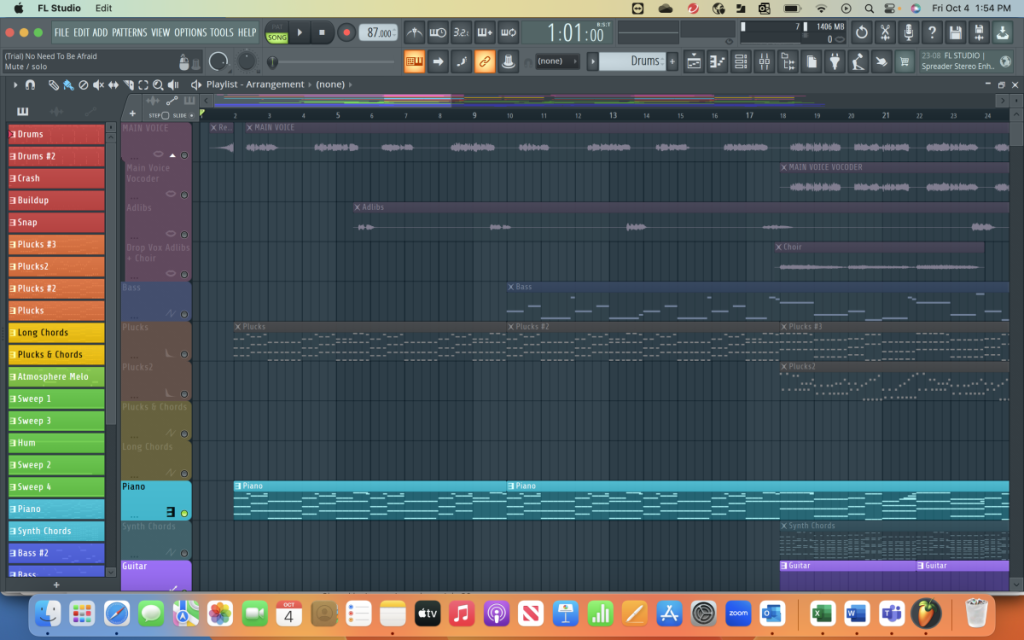
Before rendering, make sure only the track you want is being played back. This is done by soloing the track, which mutes all other tracks in the project.
How to Solo the Track:
- In the Channel Rack/Playlist view: Click the small green light next to the track you want to render, turning off all others.
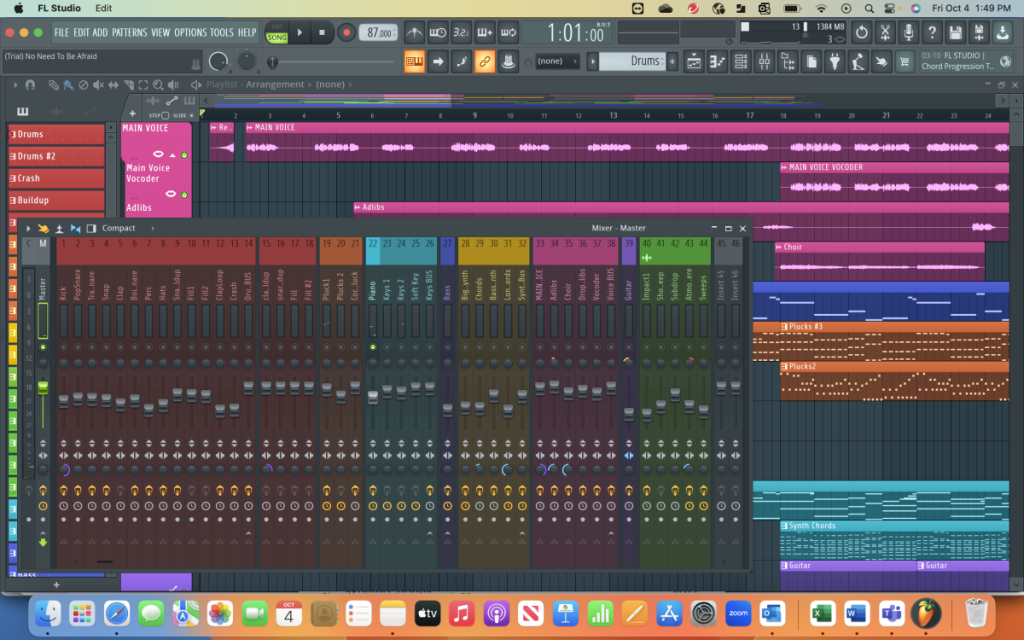
- In the Mixer: Right-click the track name and select “Solo.” This will mute all other tracks, leaving only the selected track active.
- Play the project to confirm only your desired track is audible
4. Access the Export Menu
Now that your track is isolated, it’s time to start the export process:
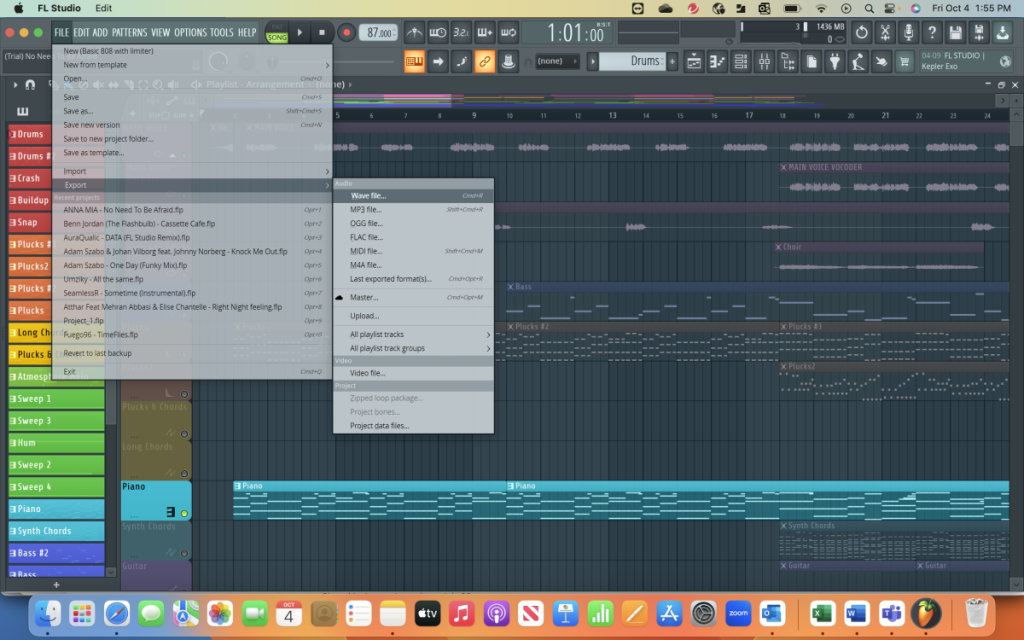
- Click on “File” in the top menu bar
- Scroll down to “Export”
- Select “Wave file” from the dropdown menu
5. Choose the File Location
Decide where you want to save your rendered track:
- In the export window, click on the folder icon or the current file path
- Navigate to your desired save location
- Create a new folder if necessary
- Name your file something descriptive (e.g., “LeadSynth_Project_Name”)
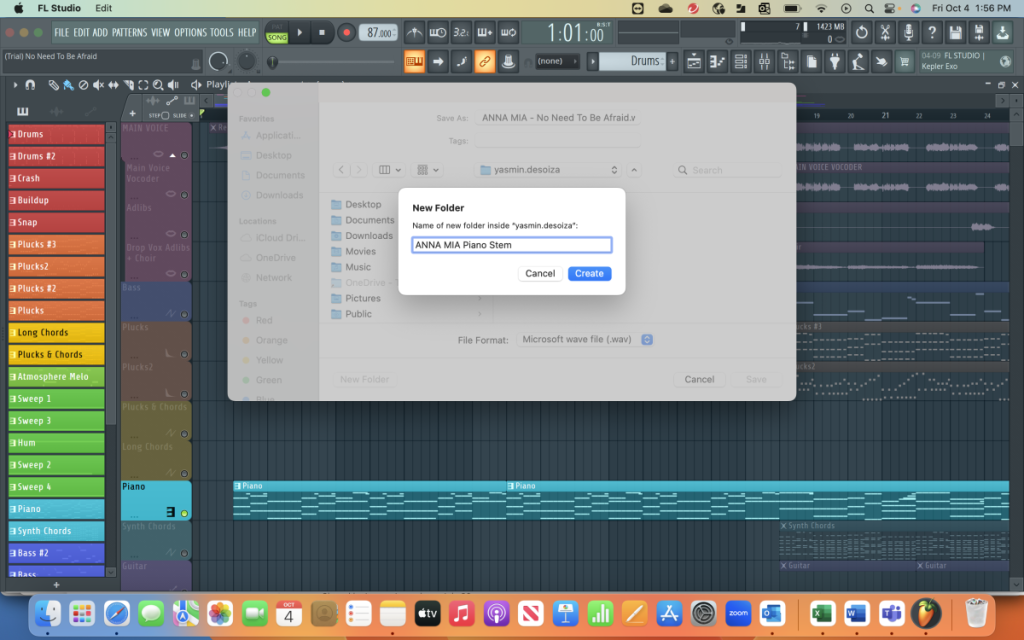
6. Adjust Render Settings
Fine-tune your export settings for the best quality:
- WAV is recommended for high-quality audio, especially if the track will be used in professional mixing or mastering.
- You can choose MP3 or OGG if you’re looking for a more compressed file format.
In the Export Settings window:
- Mode: Choose Full Song Mode if you’re exporting the track as it appears in the Playlist.
- Rendering Options:
- Select the bit depth (24-bit or 32-bit float is recommended for high-quality rendering).
- Tail: Use this setting to cut or leave the reverb or delay tail of the track, depending on your preference.
- Choose cut remainder if you want the track to stop exactly when the audio ends, or leave remainder if you want to include any natural audio decay.
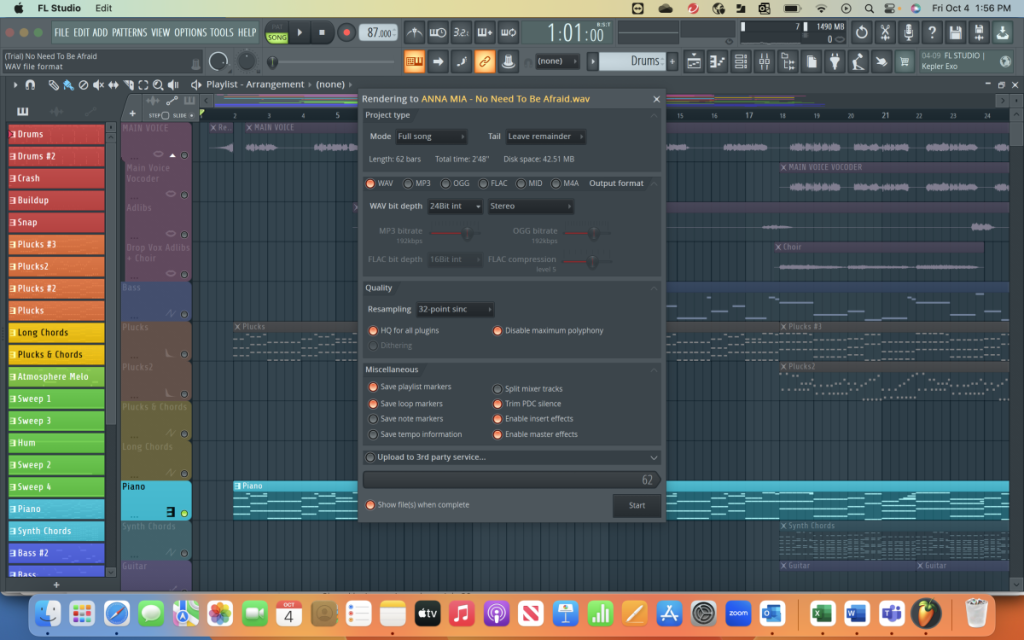
7. Render the File
You’re all set! Time to create your isolated track file:
- Double-check all settings one last time
- Click the “Start” button to begin rendering
- Wait for the progress bar to complete (this may take a few moments depending on your track length and computer speed)
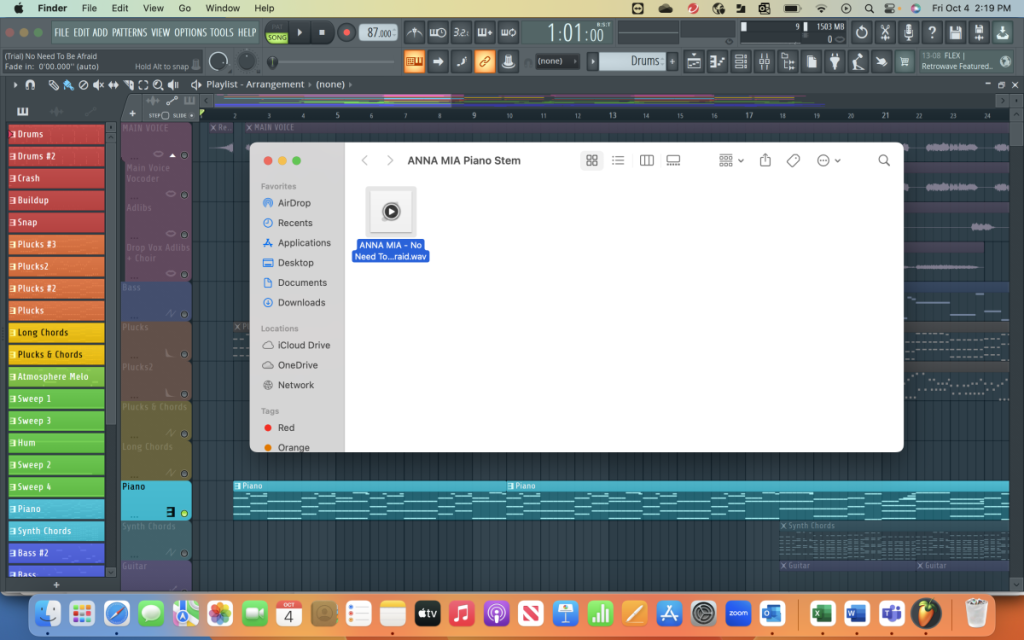
- Once finished, navigate to your chosen save location to find your newly rendered track
Conclusion
Congratulations! You’ve successfully rendered out a single track from your FL Studio project. This skill is invaluable for organizing your workflow, collaborating with others, or preparing your music for further production steps. Remember, practice makes perfect – the more you use this feature, the quicker and more efficient you’ll become at isolating and exporting individual elements of your music.
Happy producing!
Advanced Tips for Rendering Individual Tracks
- Disable Effects (Optional): If you want to render a dry version of the track (without any effects like reverb, delay, or compression), bypass these effects in the Mixer before exporting. This is useful if you plan to add effects during the mixing stage later.
- Render Multiple Tracks: If you want to render multiple individual tracks at once, use the split mixer tracks feature in the export window. This will export each Mixer track as an individual file.
- File Naming: Name your exported files clearly, like “Bass_Track.wav” or “Vocal_Main.wav,” to avoid confusion when importing the track into another DAW or sharing it with others.
Elevate Your Music Production Skills with GRAMMY GO’s Coursera Specialization
If you’re looking to take your music production skills to the next level, check out GRAMMY GO’s “Music Production: Crafting an Award-Worthy Song” specialization on Coursera. Led by industry experts like GRAMMY nominee Carolyn Malachi, this course covers everything from sound fundamentals to mastering the art of production. Whether you’re an emerging producer, aspiring artist, or industry professional, this program will help you refine your craft, build confidence, and grow as a leader in the music industry. Get insights from GRAMMY winners like CIRKUT and Hit-Boy, and start your journey to creating award-worthy music today.
